Remove spots and distractions with heal and clone
Remove dust spots, specks, small logos and streaks from a RAW photo with the Heal / Clone tool. Learn clicks and strokes, source patches, and Heal versus Clone.
The Heal / Clone tool repairs small areas by copying pixels from a clean patch nearby. Click a dust spot to remove it, or drag along a scratch, a hair or a thin wire to remove it in one stroke. The editor picks the source patch for you; you can move it if the choice is wrong.
Repairs are stored as part of the edit, not burned into the file. You can move, resize or delete any spot later, and undo works as for every other change.
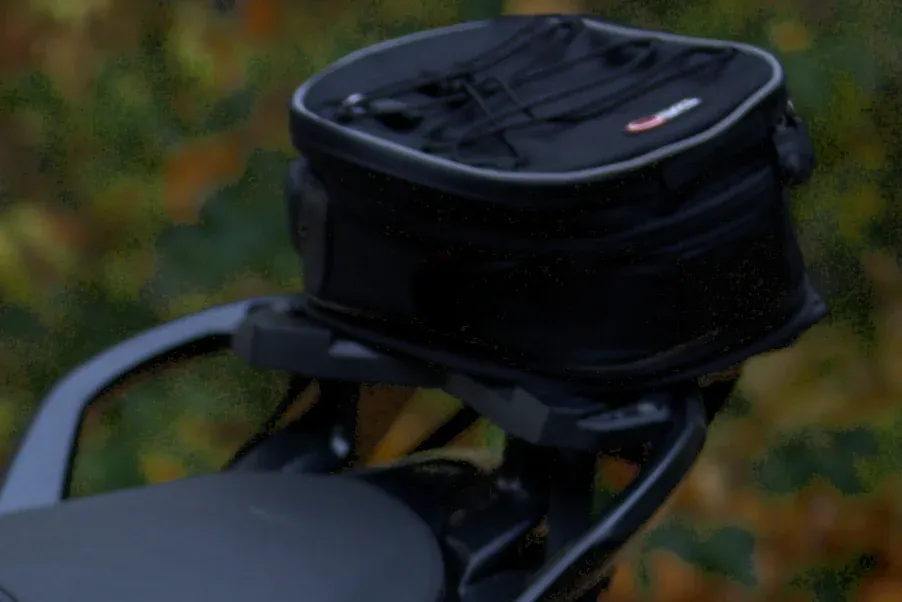
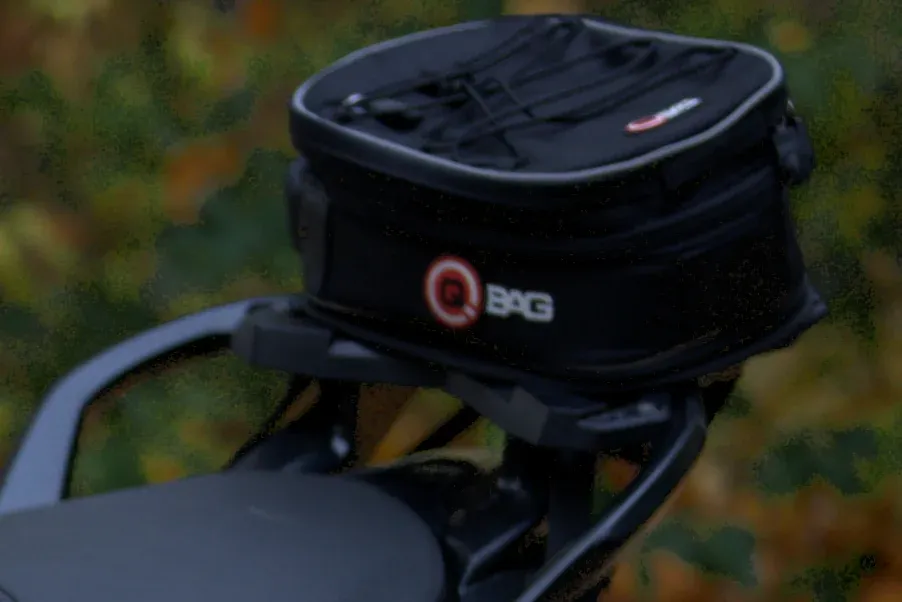
Nikon Z 5 · NEF CC0, raw.pixls.us Exposure +0.50 · Contrast +20 · Highlights −30 · Shadows +20 · Blacks −10 · HSL Orange Sat +25 · Yellow Sat +20
Repair a spot
- Open the Heal tab, or press H.
- Zoom in on the spot: press 1 for 100%, or scroll over it. See viewing and comparing.
- Set Size a little larger than the spot. The cursor circle shows the size on the image.
- Click the spot.
The new spot is selected: a solid outline marks the repaired area, and a dashed outline of the same shape marks the source, the patch it copies from, with a line joining them when they are apart. Only the selected spot shows its source; the others show just their outline.
Nikon Z 5 · NEF CC0, raw.pixls.us Exposure +0.50 · Contrast +20 · Highlights −30 · Shadows +20 · Blacks −10 · HSL Orange Sat +25 · Yellow Sat +20
Repair a streak with a stroke
To remove something long and thin, press on one end and drag along it. The stroke is drawn as a band as wide as Size while you drag, and becomes a single spot when you let go, with one source patch for its whole length. A press that moves less than a few pixels counts as a click, not a stroke.
Strokes work best on lines that are straight or gently curved. For a long wire across a busy background, two or three shorter strokes usually give better sources than one long one.
Adjust a spot
| Action | How |
|---|---|
| Select a spot | Click its outline |
| Move a spot | Drag its outline; a stroke moves as a whole |
| Change the source | Drag the dashed outline of the selected spot |
| Let the editor pick again | New source in the panel |
| Delete the selected spot | Delete or Backspace, or Delete in the panel |
| Deselect | Esc |
| Remove every spot | Clear all at the top of the panel |
Moving a spot leaves its source where it was. If the repair looks wrong after a move, click New source.
The controls
Nikon Z 5 · NEF CC0, raw.pixls.us
The sliders show the selected spot’s settings and change that spot. With no spot selected, they set up the next one. Changing a spot also makes its settings the default for the next spot.
| Control | Range | What it does |
|---|---|---|
| Mode | Heal or Clone | How the copied patch is blended in (see below) |
| Size | 0.05% to 8% of the image’s long edge | Radius of the spot, in image pixels: 2 to 320 px on a 4000 px image, 16 px by default |
| Feather | 0 to 100 (default 30) | Width of the soft edge, as a share of the radius |
| Opacity | 0 to 100 (default 100) | How much of the repair shows |
Press [ and ] to shrink or grow the size in steps of about 15%, within the same range as the slider. With a spot selected, the keys resize that spot.
Heal or Clone
Heal copies the texture of the source and matches it to the tone and color around the spot, so the repair blends without a seam even when the source is a little brighter or a different shade. Use it for nearly everything: dust, specks, blemishes, small objects on a plain background.
Clone copies the source exactly. Use it when Heal blends in the wrong way, typically near an edge or a strong change in brightness: Heal takes its color from the spot’s surroundings, and if those include part of a dark object, the repair turns dark too. Clone needs a source that already matches, so place it by hand.
How the source is picked
For each new spot the editor tests patches around it, at a distance of about two to five times its radius, and picks the one whose surroundings look most like the spot’s and whose inside is clean: no specks and no other spots. A stroke is never copied from along its own length.
This works well on sky, water, skin and plain backgrounds. On repeating patterns (bricks, tiles, fabric weave), check that the pattern lines up; if not, drag the dashed source to a place where it continues.
Repairs and the rest of the edit
Spots repair the image before any adjustment, so later changes to exposure, color or masks apply to the repaired area exactly as to the rest. Spot positions are tied to the image: cropping or rotating afterwards doesn’t move them. Spots are applied in the order they were made, each seeing the result of the ones before, so a spot can take its source from an area another spot has already cleaned.
All spots are saved with the edit and kept when you reopen the file; see history and autosave.