HSL: change hue, saturation and lightness of one color
Change one color in a RAW photo with the HSL panel in Raw Photo Editor: the seven color bands, the H, S and L tabs, and practical moves for skies, foliage and skin.
The HSL panel changes one range of colors without touching the rest. You can shift a color’s hue (make greens more yellow, a sky less cyan), its saturation (mute a distracting red jacket), or its lightness (darken a blue sky without a mask). There are seven color bands: Red, Orange, Yellow, Green, Aqua, Blue and Magenta.
Open it with the HSL tab or Shift 4. The panel is titled HSL / Color.
The controls
Hasselblad Lunar · ARW CC0, raw.pixls.us Hue: Green +15 · Magenta +25
Three tabs at the top, H, S and L, switch the seven sliders between hue, saturation and luminance. Each band keeps all three values; the tabs only change which one you see. A band that has moved on the current tab shows a dot in its color.
| Tab | Range | What it does |
|---|---|---|
| H (hue) | −180 to +180 | Rotates the band’s colors around the color wheel, in degrees. |
| S (saturation) | −100 to +100 | −100 removes the color entirely; +100 doubles its saturation. |
| L (luminance) | −100 to +100 | −100 halves the color’s lightness; +100 takes it 60% of the way to white. |
On the hue tab, positive values move a color in the order red, orange, yellow, green, aqua, blue, magenta and back to red; negative values go the other way. So Green +15 pushes greens toward aqua, and Yellow −15 pushes yellows toward orange.
Reset in the header returns all 21 values to 0. Double-click a slider to reset just that one.
How the bands are defined
Each band is centred on a hue of the standard color wheel and fades out toward its neighbours. Bands overlap, and their weights always add up to the full effect, so a color between two bands gets a blend of both bands’ changes and gradients stay smooth.
| Band | Centre | Fades out by |
|---|---|---|
| Red | 0° | 30° either side (into Orange and Magenta) |
| Orange | 30° | 30° either side |
| Yellow | 60° | 45° either side |
| Green | 120° | 60° either side |
| Aqua | 180° | 60° either side |
| Blue | 240° | 60° either side |
| Magenta | 300° | 60° either side |
The warm bands are narrow because small hue differences matter there: skin, wood and autumn leaves all sit between red and yellow. Hue is measured on the colors as they look on screen at this point of the edit, after white balance, the Basic panel and the tone curve, so set those first.
Near-neutral colors are left alone: the effect fades out below about 10% saturation, so greys, whites and blacks don’t pick up a tint when you shift a band.
Practical uses
Skies
Blue sky sits in the Blue band, with Aqua near the horizon and in tropical water. Lower Blue luminance (−15 to −40) to darken the sky and make clouds stand out, the digital version of a polarising filter. A small Blue hue move toward Aqua (−) or toward Magenta (+) changes the character of the blue.
Foliage
Fresh leaves often fall between Yellow and Green, not only in Green. Lower Green and Yellow saturation and luminance to calm a busy green background, as in the example below. Shift Yellow hue toward green (+) for fresher spring foliage, or toward orange (−) for an autumn feel.
Skin
Skin tones sit mostly in Orange, with some Red. Small moves only: Orange saturation −5 to −15 calms sunburn and blotches, Orange luminance +5 to +15 brightens faces. Check neutral areas and lips after each move.
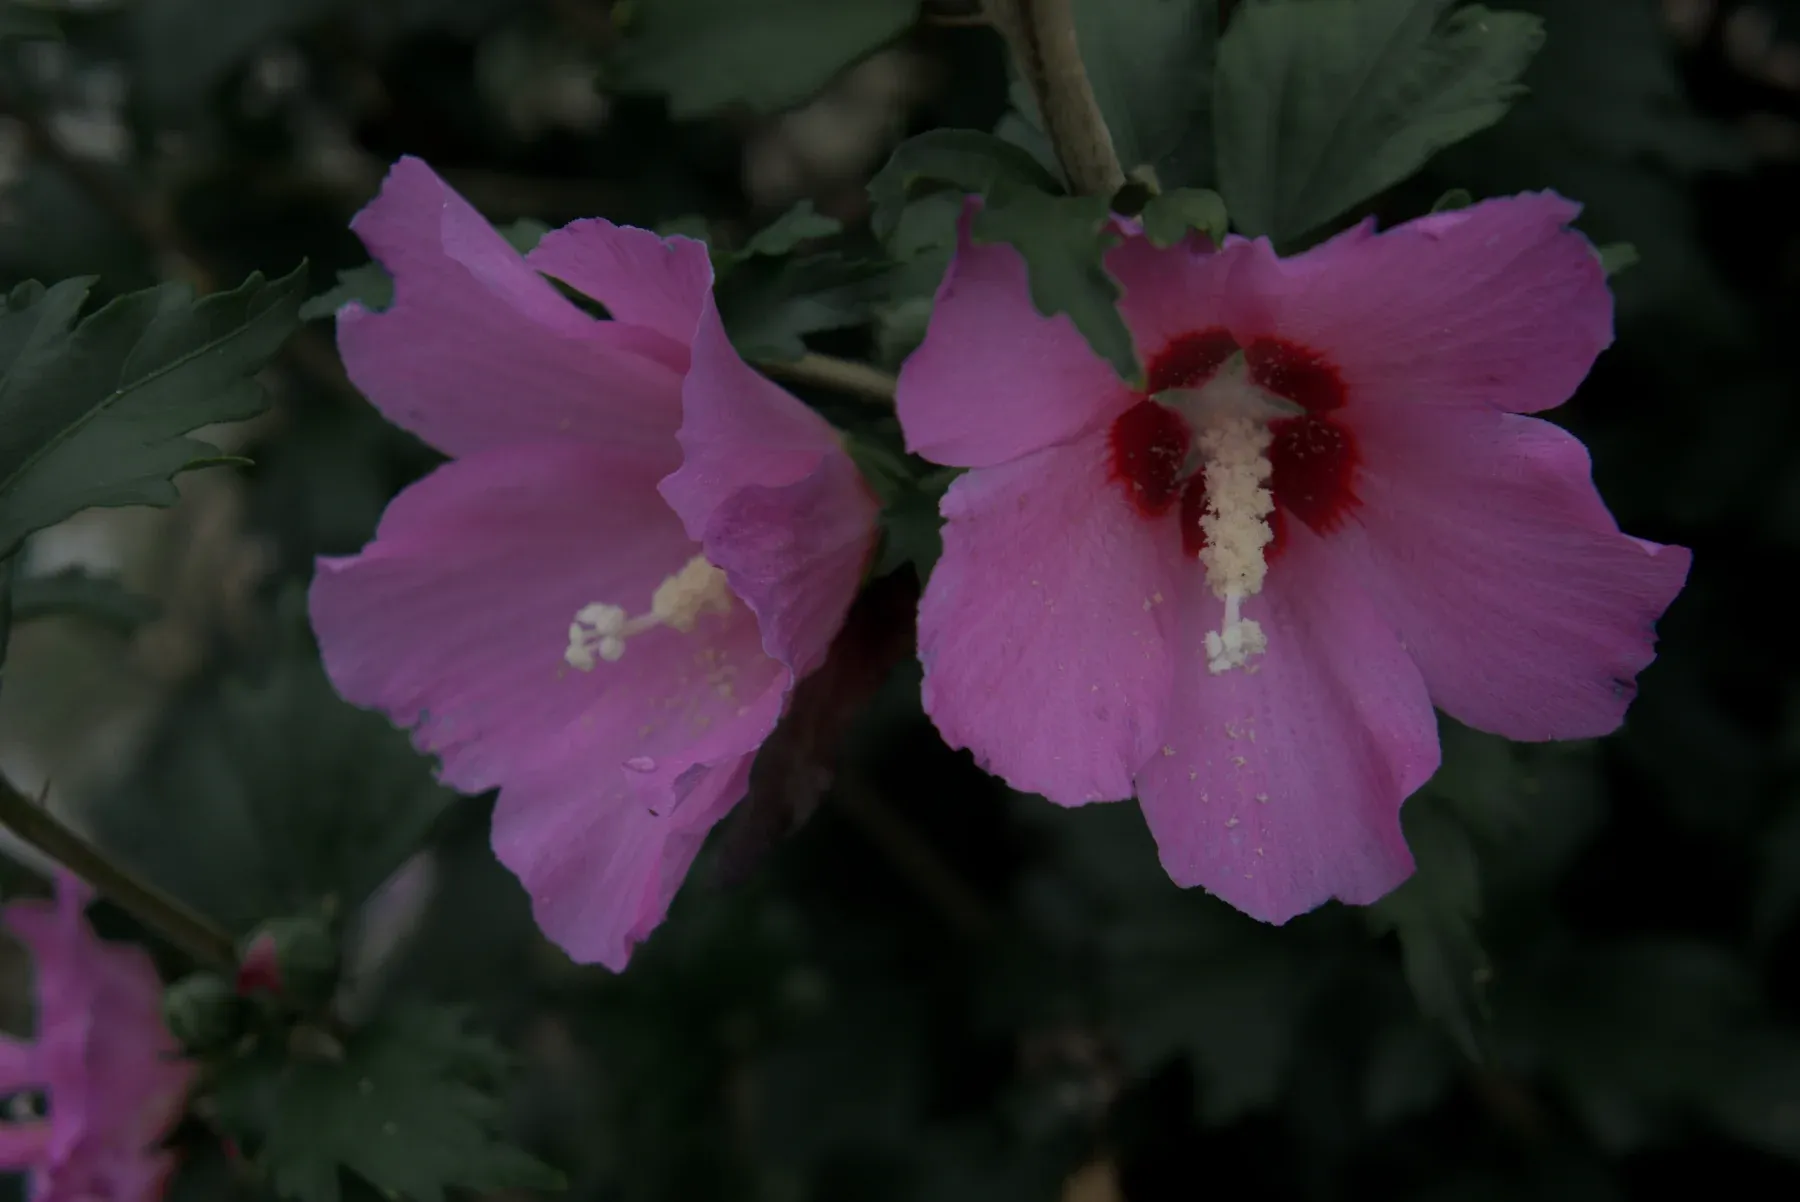
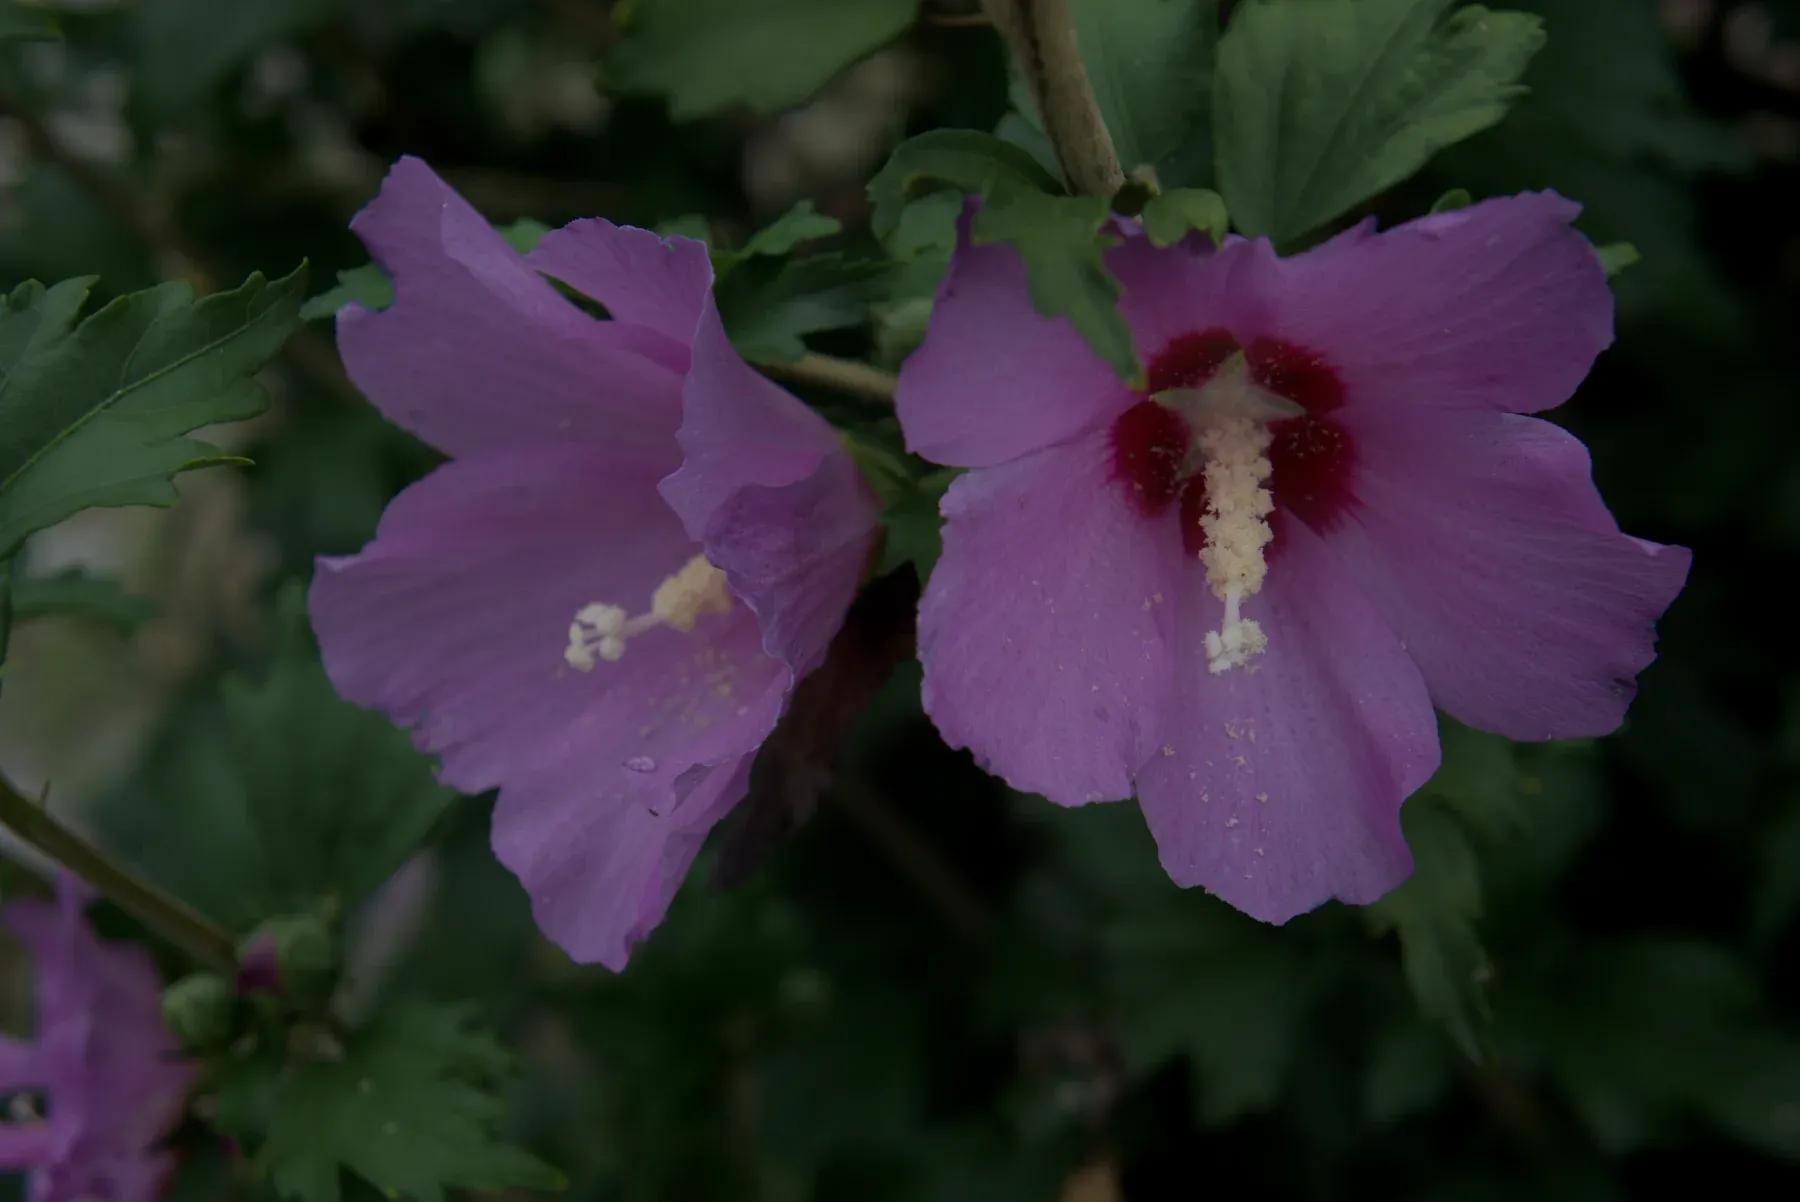
Hasselblad Lunar · ARW CC0, raw.pixls.us Magenta Hue +25 Sat +15 Lum +5 · Green Hue +15 Sat −40 Lum −35 · Yellow Sat −30 Lum −20
Black and white with control
Set all seven bands to −100 on the S tab and the photo turns black and white (nearly neutral areas keep a faint trace of their tint), but the L tab still works on each band’s original color. Darken Blue for a dramatic sky, lighten Orange for brighter skin, or darken Green to separate a subject from foliage, the way color filters work with black and white film.
HSL, Vibrance and Saturation
HSL works per color. Vibrance and Saturation on the Detail tab work on all colors at once and are applied after HSL. Set the overall color with Vibrance first, then use HSL to correct the one or two colors that are off. For a color cast across the whole photo, fix white balance instead: HSL can’t neutralise a cast in greys, because it leaves near-neutral colors alone.
Where to go next
- Color grading: tint the shadows, midtones and highlights.
- Tone curve: shift color per channel with the R, G and B curves.
- Masks: change saturation in one area only.