Presets: save and apply a look to RAW photos
Apply a built-in look or save your own edit as a preset. What a preset changes and keeps, where presets are stored, and how to move them to another browser.
A preset is a saved set of adjustments that you can apply to any photo with one click. The editor comes with five built-in looks, and you can save the settings of your current photo as your own preset. Applying a preset replaces the photo’s adjustments with the preset’s, but keeps its crop and its heal and clone spots.
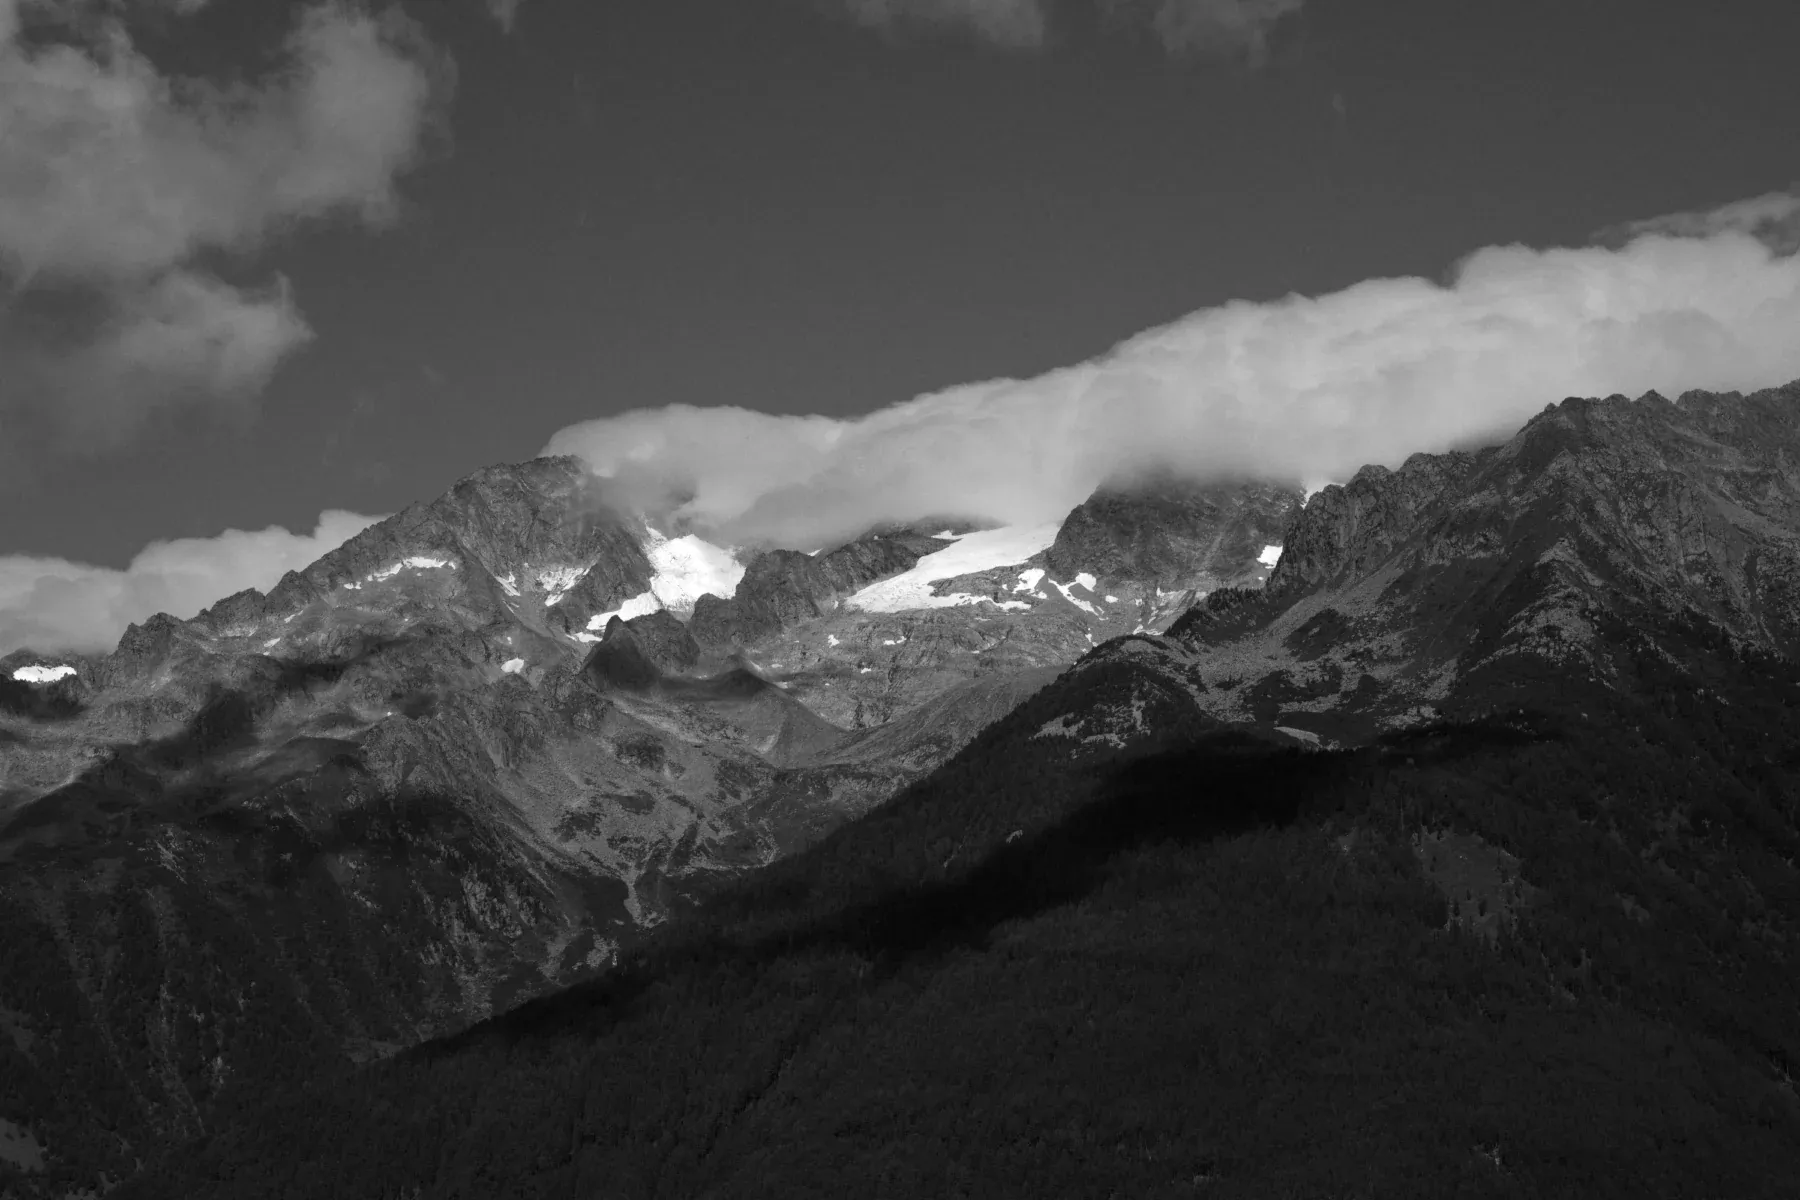
Canon EOS 750D · CR2 CC0, raw.pixls.us Exposure +0.55 · Contrast +25 · Highlights −55 · Shadows +40 · Whites +20 · Blacks −20 · Vibrance +30 · Dehaze +15 · Clarity +15
Apply a preset
- Click Presets in the toolbar, next to Open.
- Click a preset name. The photo updates straight away.
- The menu stays open, so you can click through several looks. Close it with Done or by clicking anywhere outside it.
Each click is one step in the history: Ctrl Z takes you back to the settings you had before. The menu has no thumbnails. To compare a preset with the edit you had before, click back and forth between the last two entries of the history list; \ compares with the unedited photo, not with your previous edit.
What a preset changes
A preset is a complete set of adjustments, not a set of changes on top of yours. When you apply one:
- Every adjustment is replaced: Basic, white balance and channel gains, Tone Curve, HSL, Color Grading, Presence, Detail, Vignette and Grain. A slider the preset doesn’t set goes back to its default.
- Masks are replaced by the masks stored in the preset. The built-in presets have no masks, so applying one removes any masks you had drawn.
- Crop, rotation and flips are kept, and so are heal and clone spots, because they belong to this photo rather than to the look.
In practice, a preset resets Exposure and white balance too. Three of the built-ins set Exposure to 0, and three set Temp and Tint to 0 (the camera’s white balance), so a photo you had already brightened or warmed loses that. Apply the preset first, then set Exposure and white balance for this photo, then fine-tune the rest.
The built-in presets
| Preset | What it sets |
|---|---|
| Film Warm | Temp +12, Tint +4 · Contrast +15, Shadows +10, Blacks −8 · warm highlights, blue shadows (Color Grading) · Vibrance +8, Saturation −5 · Vignette +15 · Grain 25 |
| High Contrast B&W | Contrast +40, Highlights −15, Shadows +20, Blacks −20 · Clarity +30 · Vibrance and Saturation −100 · Grain 30 |
| Cinematic Teal | Temp −8, Tint +2 · Contrast +20, Shadows +15, Blacks −10 · warm highlights, teal shadows (Color Grading) · Vibrance −10, Saturation +5 · Vignette +25 |
| Natural Vivid | Exposure +0.15 · Contrast +10, Highlights −20, Shadows +15 · Clarity +12, Texture +15 · Vibrance +25, Saturation +8 |
| Soft Pastel | Exposure +0.30 · Contrast −15, Highlights −30, Shadows +25, Blacks +15 · Clarity −20 · Vibrance −15, Saturation −10 · pink highlights, blue shadows (Color Grading) |
The built-ins are starting points, not finished edits. They don’t know your photo’s exposure, so most photos need Exposure, Highlights and Shadows set again afterwards. Film Warm and Cinematic Teal also darken the corners with a light vignette.
Built-in presets are always listed and can’t be deleted or changed.
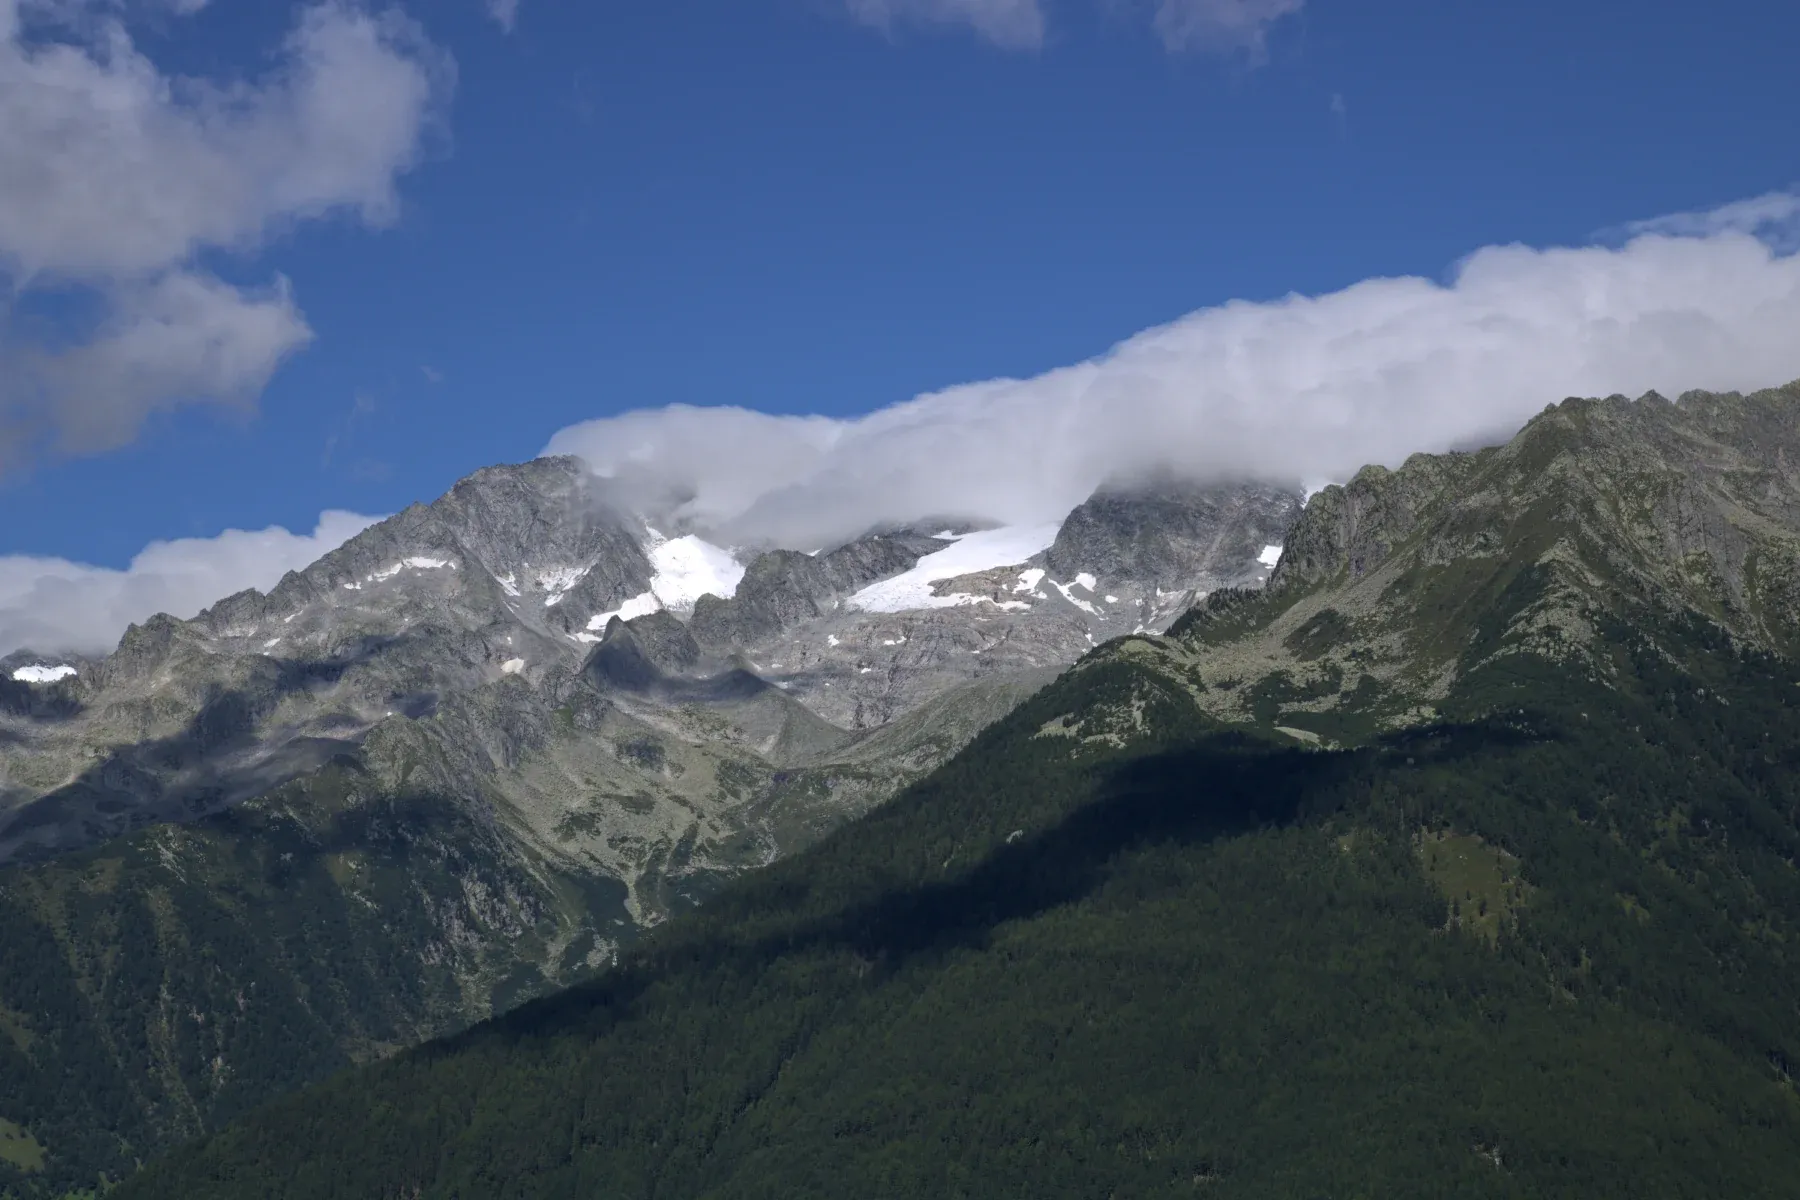
Canon EOS 750D · CR2 CC0, raw.pixls.us
Save your own preset
- Edit a photo until you like the look.
- Open Presets and click Save Current as Preset.
- Type a name and press Enter, or click Save. Cancel closes the field without saving.
Your preset appears under Your Presets, after the built-ins, in the order you saved them. A preset stores all of the photo’s current settings, including its masks. Masks are placed at the same relative position on the next photo: a graduated sky mask that covers the top third of one landscape covers the top third of the next. Brush masks carry over the same way, which is rarely what you want, so delete brush masks before saving a general-purpose preset.
Good presets are narrow. A preset that only sets color (white balance, HSL, Color Grading, Vibrance) can be applied to many photos; one that also fixes exposure and shadows only suits photos shot in the same light. Since every preset resets all sliders, it helps to save looks from an edit where Exposure and the Basic sliders are close to 0.
Delete a preset
Click × next to one of your presets to delete it. It is removed immediately, without a confirmation, and the deletion can’t be undone with Ctrl Z: history covers edits to the photo, not the preset list. Photos you already edited with that preset keep their settings.
Rename a preset
Click the pencil next to one of your presets, type the new name and press Enter (or click elsewhere). Esc keeps the old name.
There is no way to update a preset’s settings. To change one, apply it, adjust, save it under a new name, and delete the old one.
Where presets are stored
Presets are saved in this browser’s local storage, on this computer. They are not uploaded, not tied to an account, and not synced between browsers or devices.
To carry a look to another browser or computer, use a settings file instead: Save Settings (.json) in the Export panel downloads the full edit, and the Load settings icon in the toolbar applies it to the photo that is open. Unlike a preset, a settings file applies everything, including the crop and the heal spots, so it suits a series of photos shot from the same spot better than a general look. See history and autosave.
Related pages
- Color grading and HSL: the color controls most looks are built from.
- Masks: what gets carried over when a preset contains masks.
- Try a preset in the editor.