White balance: fix color casts in a RAW photo
Correct or warm up a RAW photo with Temp, Tint, the Pick eyedropper and per-channel gains in Raw Photo Editor, including strong casts such as underwater blue.
White balance decides what counts as neutral grey in your photo. In Raw Photo Editor you set it with Temp (blue to amber) and Tint (green to magenta), or click Pick and then click something that should be grey. For casts too strong for those two sliders, such as deep water, three Channel Gains scale red, green and blue directly.
The controls are on the WB tab (Shift 2) and also at the top of the Basic tab, so you can set color and tone in one place.
Where the sliders start
A RAW file opens with the white balance the camera recorded when you took the shot. Temp and Tint at 0 mean exactly that: they are offsets from the camera’s setting, not Kelvin values. If the camera’s auto white balance got it right, leave them alone; if not, move them from there.
The controls
Fujifilm FinePix S9600 · RAF CC0, raw.pixls.us Temp +18 · Tint +6
| Control | Range | What it does |
|---|---|---|
| Temp | −100 to +100 | Left is cooler (bluer), right is warmer (more amber). |
| Tint | −100 to +100 | Left is greener, right is more magenta. |
| Pick | button | Click it, then click a neutral area to set Temp, Tint and gains. |
| Red, Green, Blue | 0.50 to 3.00 | Multiply one color channel. 1.00 is no change. |
The White Balance header has its own Reset, which puts Temp and Tint back to 0. Channel Gains has a separate Reset that returns all three gains to 1.00. Double-clicking a single slider resets just that one.
How Temp and Tint scale
Temp changes the balance between red and blue on a doubling scale, so small moves are gentle and the far end is very strong. Around ±10 is a subtle nudge of about 1.2 times; ±100 shifts the red-to-blue ratio by a factor of eight, which is what water at depth can need. Tint at ±100 halves or doubles green against red and blue.
The editor never boosts a channel beyond its original level: it scales the others down instead. That keeps white balance from clipping anything, but it means strong Temp or Tint values make the photo darker overall. Raise Exposure to compensate. Areas where all three channels were clipped in the camera, such as a blown sun, stay neutral white whatever you set.
Use the picker
- Click Pick in the White Balance header. It lights up and the cursor becomes a crosshair over the image.
- Click something that should be neutral grey or white in the photo: a grey card, a concrete wall, a white shirt in shade, overcast sky. Avoid anything bright enough to be clipped.
- Temp, Tint and the channel gains change, and Pick turns itself off. The pick is one step in the history.
The picker averages a small square of pixels around the point you click, so noise doesn’t throw it off. It reads the original colors of the file, not the edited ones, so clicking the same spot twice gives the same result whatever the sliders say.
If you click a spot that is too dark or has a clipped channel, nothing changes and Pick stays on: click a mid-toned neutral area instead. To leave the picker without picking, click Pick again or press Esc. Switching to another tool turns it off too.
The picker sets all three channel gains as well as Temp and Tint. For ordinary casts the gains stay close to 1.00; when the cast is stronger than Temp and Tint can reach, the rest goes into the gains. Any gains you set by hand are replaced.
Warm and cool on purpose
Neutral isn’t always the goal. A sunset that is corrected to grey loses what made you take the picture. After you have a neutral starting point, move Temp to set the mood: +10 to +25 for golden light, −10 to −25 for a cold winter morning or blue hour. Small Tint moves toward magenta (+) often suit sunsets; toward green (−) can help under foliage.
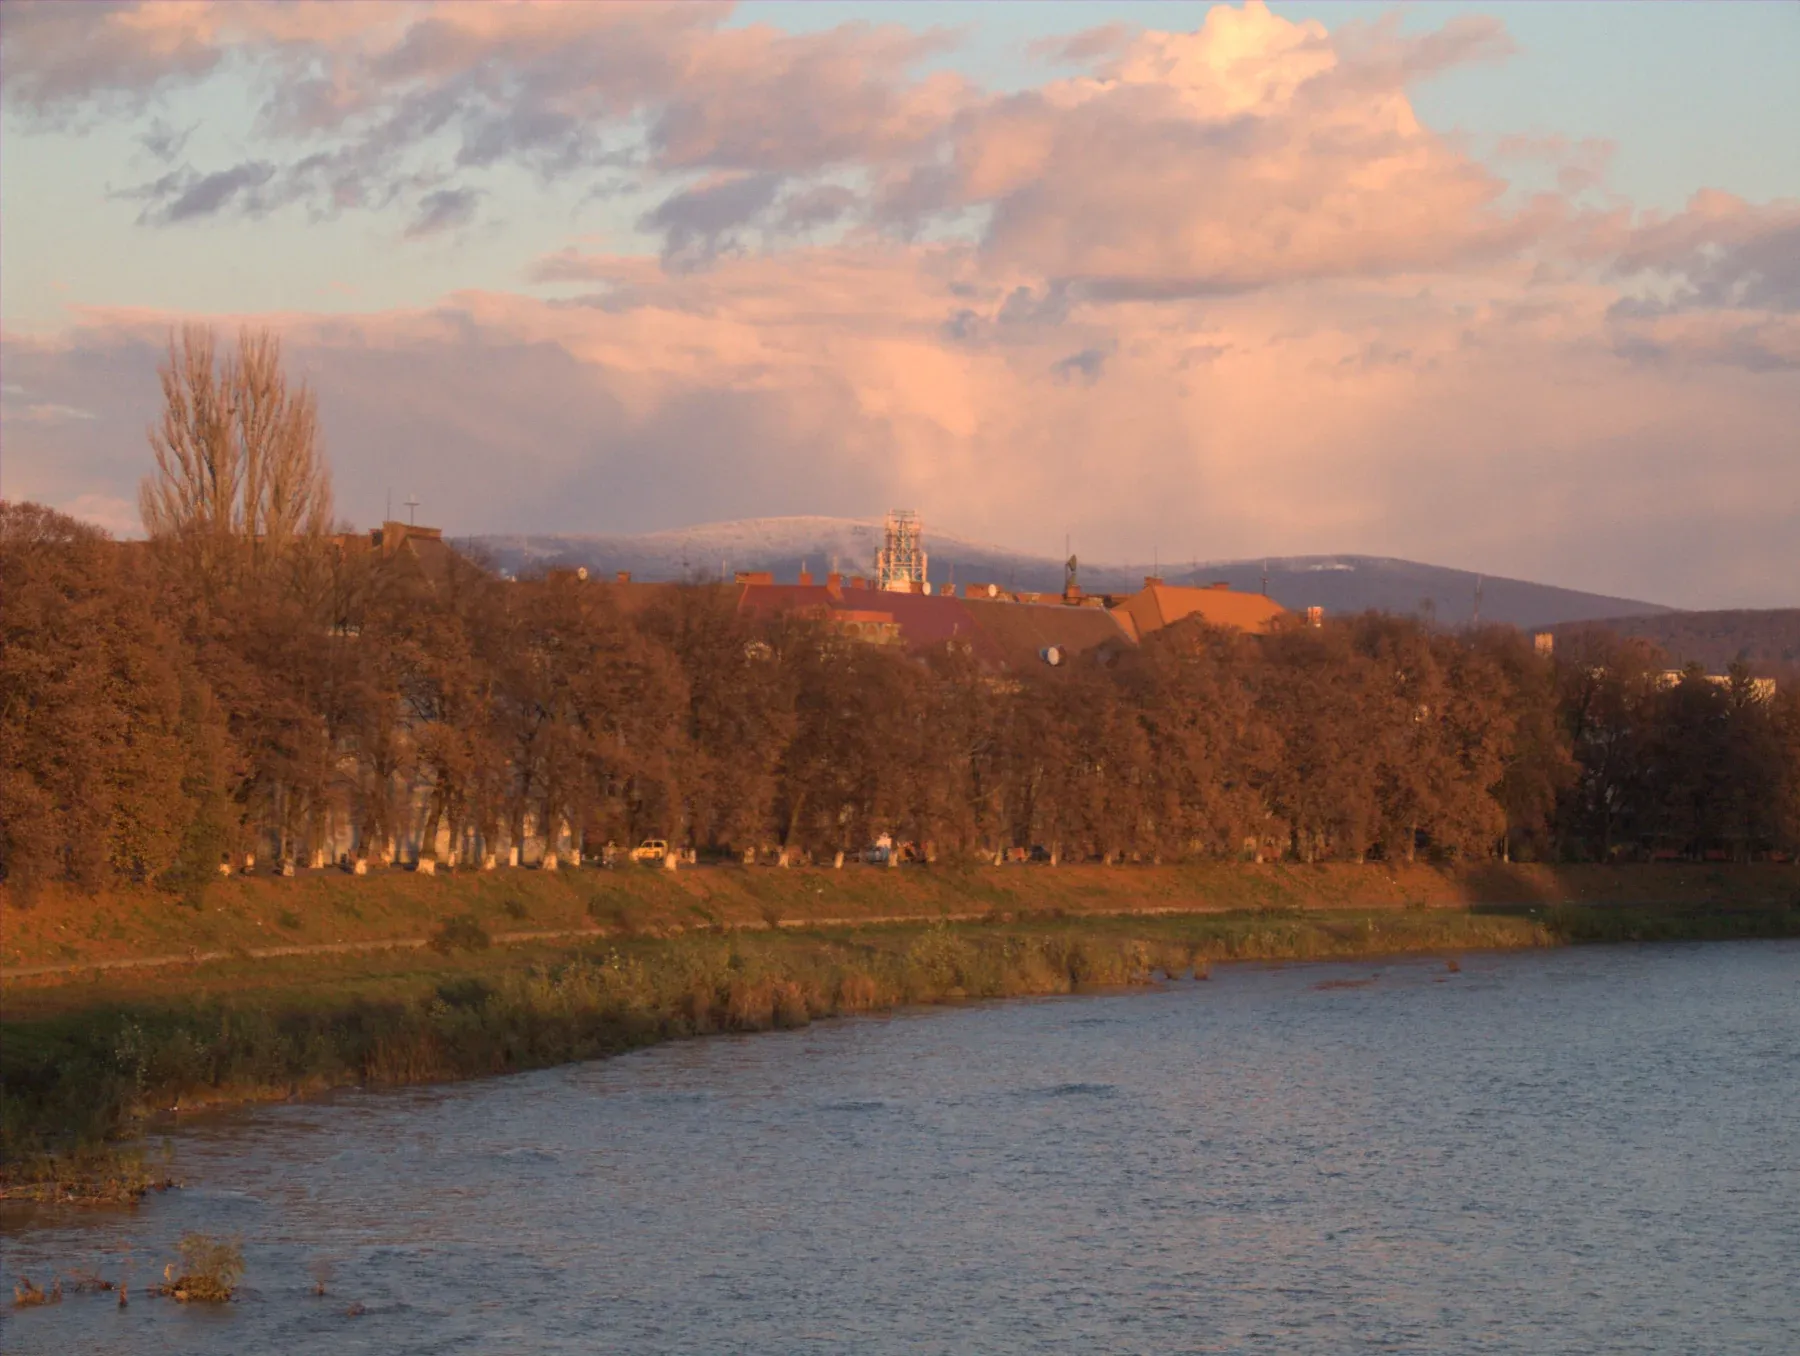
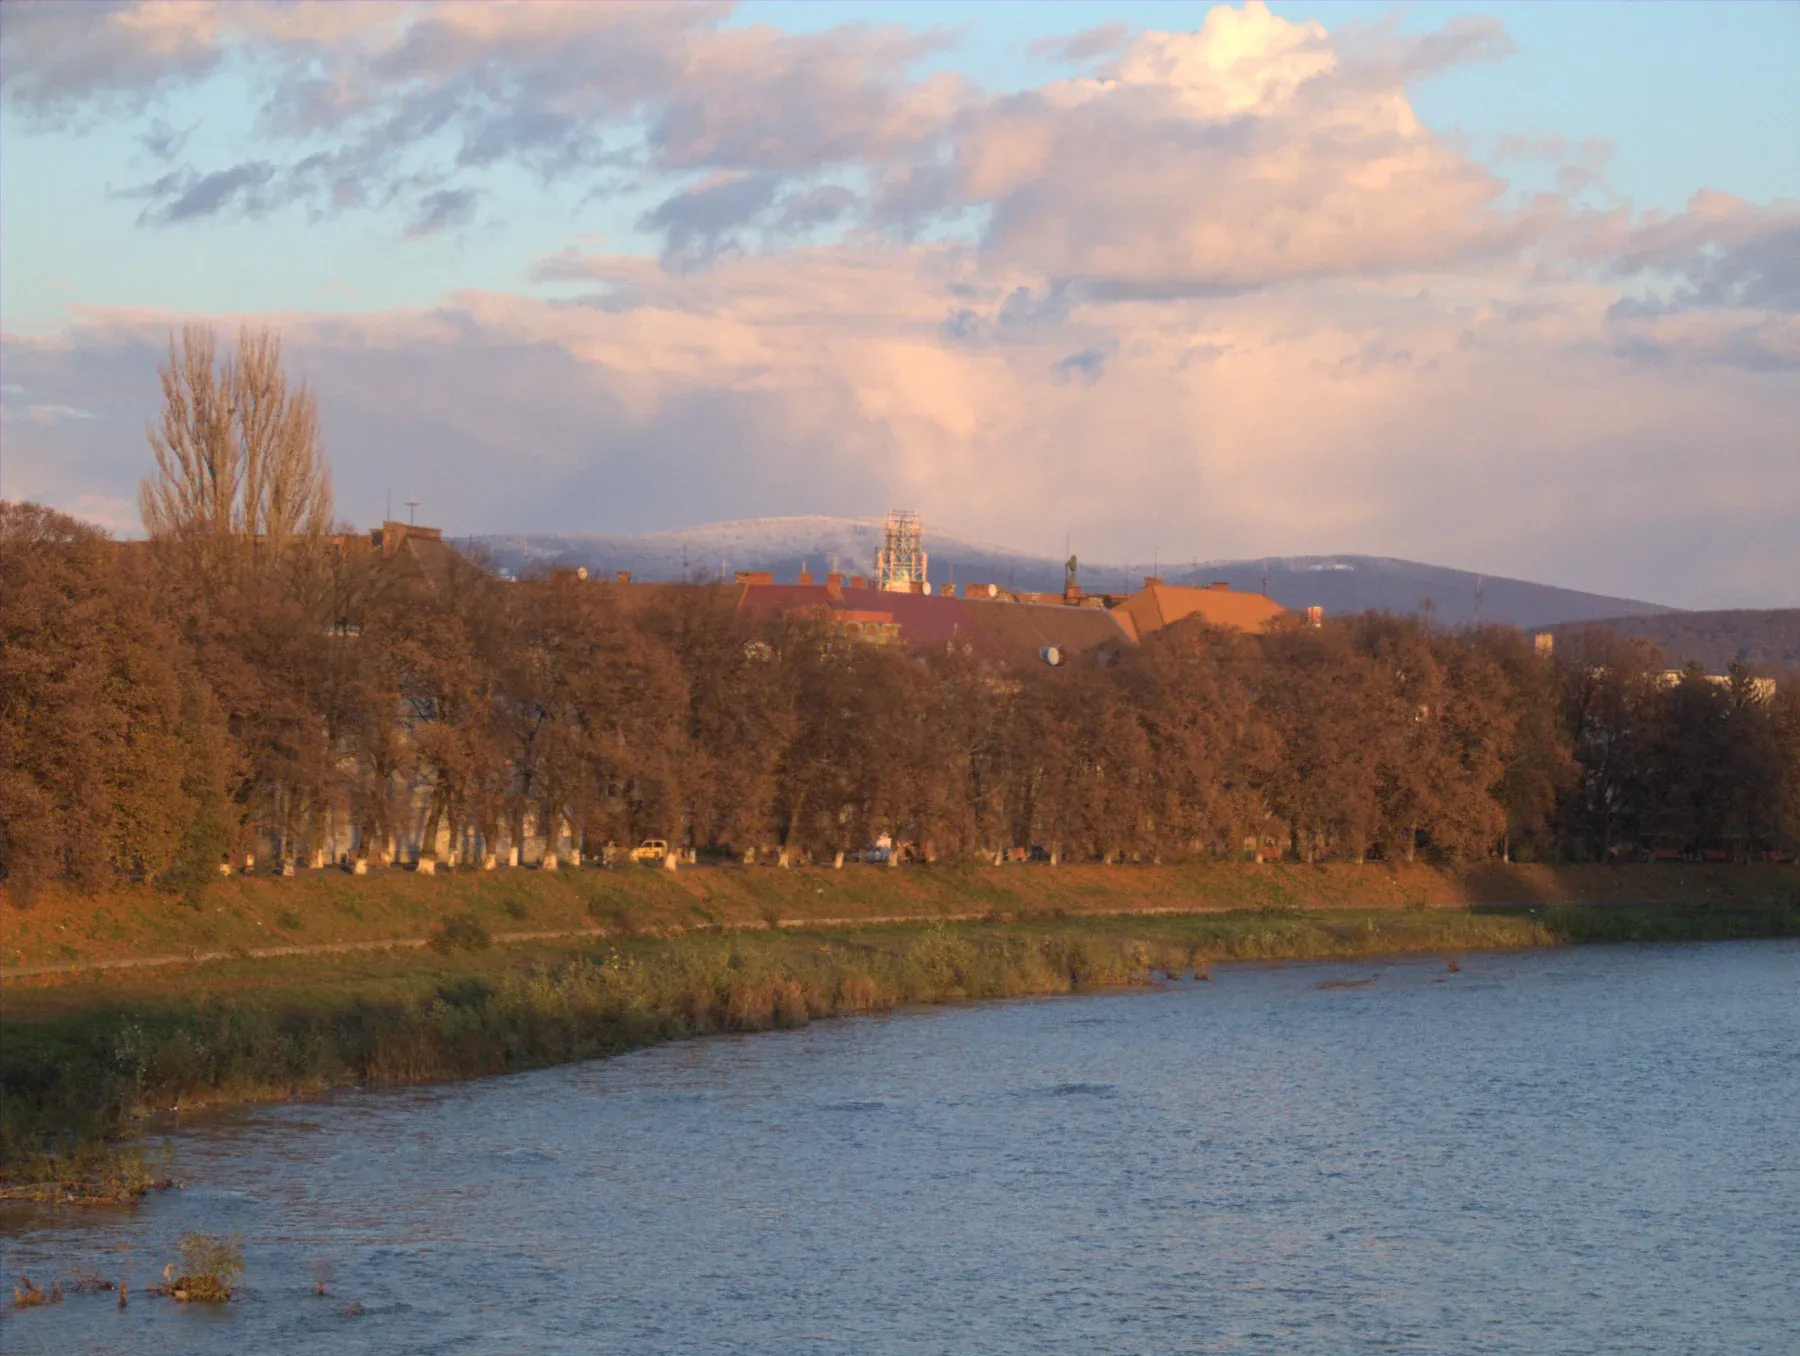
Fujifilm FinePix S9600 · RAF CC0, raw.pixls.us Exposure +0.30 · Contrast +20 · Highlights −40 · Shadows +20 · Blacks −10 · Vibrance +20; after adds Temp +18 · Tint +6
Channel gains
Red, Green and Blue each multiply one channel. Use them when Temp and Tint can’t get there, or when a cast doesn’t sit on the blue-amber or green-magenta axes. Only the ratio between the three matters: setting all of them to 2.00 changes nothing, because the editor scales the result back so the strongest channel is unchanged. Raising Red has the same effect as lowering Green and Blue together.
Mixed light
The panel sets one white balance for the whole photo. When a scene mixes light sources, for example window light and tungsten, balance for the main subject here, then correct the other area with a mask: masks have their own Temp and Tint sliders.
Where to go next
- Basic panel: set the light once the colors are right.
- HSL / Color: change single colors, such as a sky or foliage, after the overall balance.
- Color grading: tint shadows, midtones and highlights differently.